Astronomy: equipment 2
Updated: Mar 2019
Click here to better view this site
The Sun in H alpha
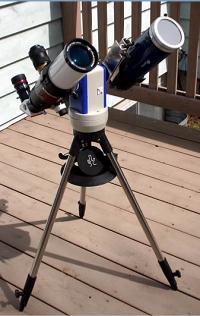
I've taken a passion to observing the sun: with a Lunt 60 mm imaging hydrogen alpha (double stacking not shown) and the iOptron Mak90 with a visible light Orion glass solar filter, the pair on an iOptron GOTO mount. Splendid way to laze away a weekend afternoon. The Mak & GOTO used to be on the previous fork mount as steerable guide scope but was no longer needed with the extended head German mount.
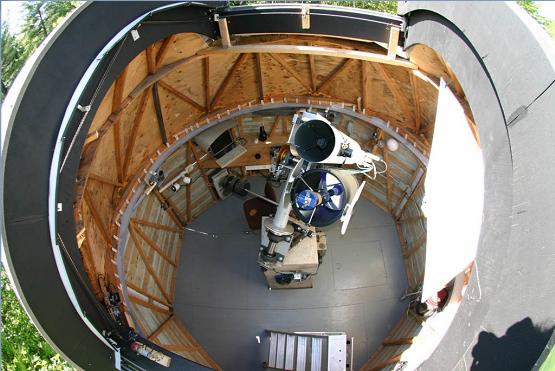
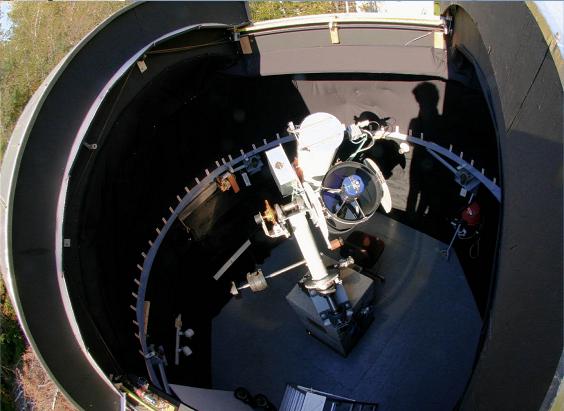
...and why not another wide look at the dome after lots of renovations? before and after black-ing it out.
Advice to the DIY
Lessons learned over 30+ years.
- Buy as much off the shelf, budget permitting, as DIY is often in the end as expensive (after much rework), rarely as reliable and falls short of commercial products. But it isn't as much fun and you won't learn as much. This includes software and hardware. You might balk at 500 or 1350$ s/w, however if you try to code even 25% of the functionality and features, you'll probably be in for hundreds, if not thousands of hours. I have spend 7500 hours at my terminal coding in 15 years, that's not cost effective! Otherwise you'll be like me spending 95% of your time building it rather than using it.
- Use as short as possible twisted shielded wires everywhere
- Don't ever share a USB ground wire, in fact don't ever make a USB link through a DIY multi signal cable. Use good quality USB wires, don't skimp here (shielding!)
- Relay coils MUST have a fly back diode
- Brushed motors need both leads *grounded* to their body by small capacitors
- Use plenty of good toroidal ferrite to wrap your wires around
- Try to avoid large current surges, high voltages - isolate them if you can.
- Power all hubs with plenty of capacity (erratic connectivity can be due to inadequate current)
- Use true USB 2.0 hubs (most hubs share a single controller for all ports, so any USB 1.0 forces all ports to slow down [but Multi-TT hubs are supposed to correct this] and Windows also slices the bandwidth down which you have no control over, so your 5000$ CCD camera takes 2 or 3 times longer to download). Try to get USB 2.0 Hi-speed on all devices, never put a USB 1.1 on the same bus, as you'll lose the performance on the faster devices. Phidgets are particularly bad on this - manufacturers should look further than saving a few pennies (just because the device doesn't need speed, knowing how USB works should have them all use hi-speed).
- Invest in a good s/w tool to sniff out your USB topology (USBlyzer), it'll help you figure out many problems
- Noise picked up on USB can cause Windows to blue screen (BSOD) and otherwise cause erratic behaviour that will be hard to troubleshoot - if you haven't figured out a USB connectivity issue, it's probably noise, was in most of my cases.
- Don't build a rotating dome! They're just too costly and a lifetime of maintenance. If you can, build a roll off roof. And if you're into remote observing, the building can be very small, even without any space for humans.
- If you must build a rotating dome, don't put electronics on it (with battery), at most have a park position switched power contact to open and close the shutter, nothing more. My largest maintenance nightmare was continuously the dome battery charging and wireless connectivity, no fun at -25C. I am NOT doing it for the second observatory.
- Stay away from wireless, it'll eventually cause you trouble. Wired, wired, wired! Reliable and faster. Invest in 3" galvanized conduit (buried) to pass all wires (add a permanent fish), properly grounded to earth so that lightning strikes in the vicinity won't fry parts of your expensive setup (forget a dead on strike, it'll probably blast half your house's electronics and anyone standing near wires and conduits anyway). You can of course use ABS/PVC, losing the protection but still benefit the ease of passing/removing cables later.
- If you can afford it, use absolute encoders as relative ones require detecting a reference and keeping it for the duration. There are many reasons why this can go wrong, sending your scope on a drunken walk. I used them for 10 years, switched to absolute and have never looked back (17 bits in my case, a minimum in my opinion).
- In light polluted skies, Invest first in narrow band filters instead of RGB for deep sky as you'll tease out detail far better with Ha, SII and OIII. It's big money, so place it well. In most cases anyway...
- Buy as much off the shelf, as much as it is fun to code and build, you'll be observing years earlier, mostly problem free - unless of course your fun is the nuts and bolts.
- Use metals as often as possible, particularly for structural parts and stress areas. Wood, over time, will fail you. It is a hassle to locate metal supplies and welding, but it is well worth it in the long run.
- Spend the money from the outset for what you feel is best, as early compromises for cost reduction will eventually lead to upgrading and replacement costing far more.
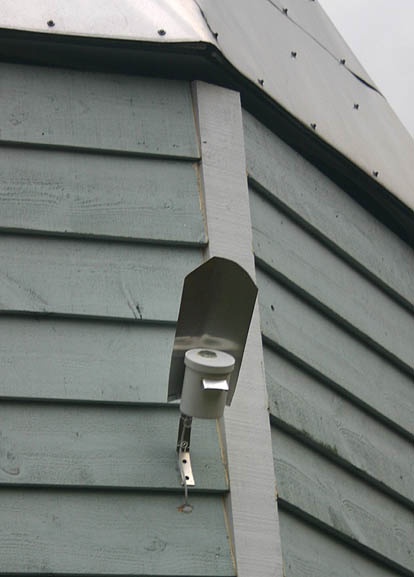
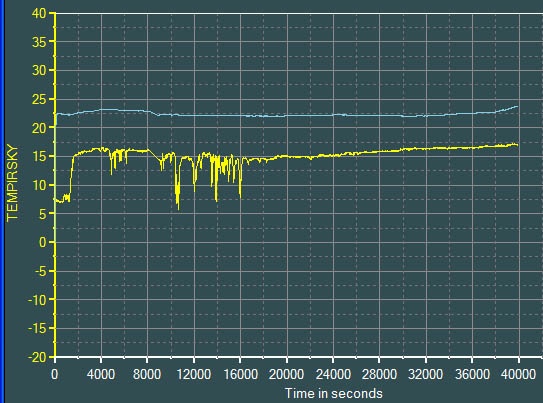
An automated dome requires accurate weather sensing. Detection of clouds doesn't only equate to the possibility of rain, but of less than ideal imaging conditions. Although my installation uses the information provided by the ClearSkyClock and the Davis weather station, there is no substitute to sensing cloud cover. One can achieve it with the excellent and complete Boltwood (1700$), or lesser units AAG and Foster Systems (500$). I opted for a Phidgets 1045 IR (Melexis thermopile) which picks out the 5 to 14 um band. Large temperature differences between ambient and sky temperature is indicative of clear skies, or at least very high altitude clouds which are not a threat. Interestingly, the temperature difference will vary as different layers of clouds pass over the narrow view of the sensor as the standard atmosphere lapse rate of 2 C per 1000 feet applies. Unfortunately, this sensor is mounted inside of a small barrel and required a window to protect against the elements, but glass, plastics and such are quite opaque in the IR. I used a polyethylene plastic bag material that had moderate absorption - material that are transparent in the IR are very pricey. Later, I unsoldered the thermopile from its USB board and replaced it with the same type but barrel-less, on a flexible wire harness so I could silicon it on the cover as it is sealed, thereby riding me the bag *window*.
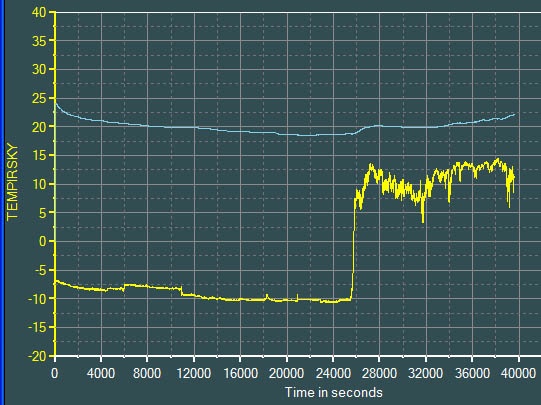
The top graph shows a night of drizzle with passing cloud layers, holes now and then allowing upper altitude layers to show through. The lower graph shows a night of clear skies with clouds forming in the morning.
Yellow is sky temperature as measured by the thermopile. Blue is ambient temperature.
The installation would benefit of a heater to rid itself of water, frost and ice. I tilted it to 45 deg and added a large rain cap, almost as good as heating! A vent at the top of the sensor box improves ambient temperature readings, although multiple sensors within and without the observatory already provide this essential information.
Automation
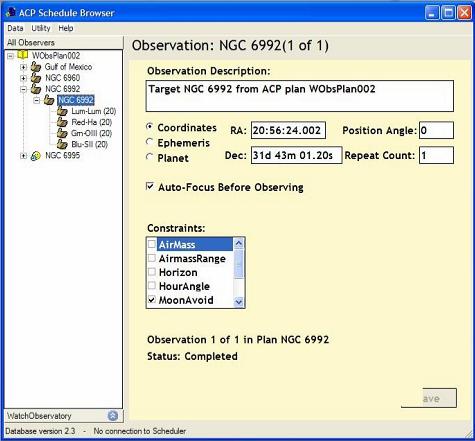
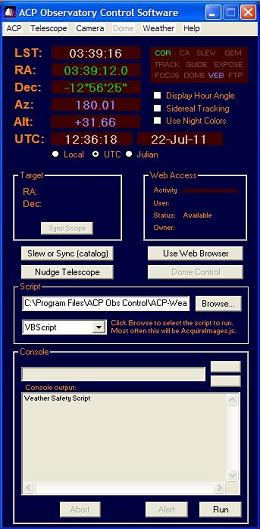
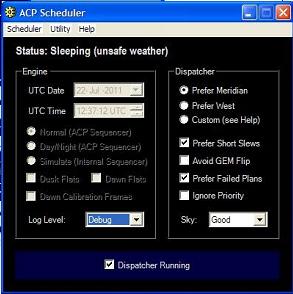
Summer 2011, I purchased a full ACP license. I can setup a list of targets, and over the course of the following clear nights, ACP will control the telescopes, dome, CCDs, focuser and filters, refining positioning while I sleep. I wake up to a fully closed dome and a PC full of images. A decade of work to achieve this, I'm finally doing Astronomy rather than coding and building equipment.
Astrophotos
What with 15 years of work behind me on this observatory, I got around to practicing imaging with all this fancy new equipment and software. It's preliminary and did not involve any Photoshop work, only Maxim DL, and it is shown below only to prove that I'm not only wasting my life on working this observatory rather than using it. As stated elsewhere on this website, my goal is science, so you won't see many flashy astrophotos here - besides there are plenty all over the web for you to enjoy. This first run of images was to test out ACP automation and the dome/scopes ability to follow the commands, the images are incidental to these tests.
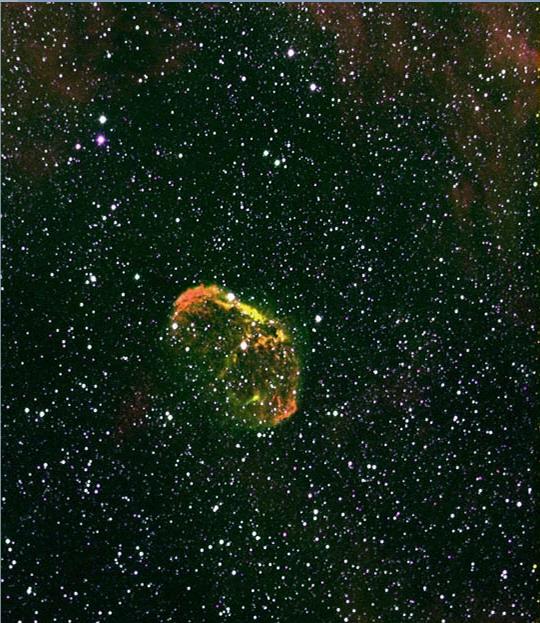
NGC 6888
Crescent nebula
my very first attempt at an RGB pallet from Ha (red), OIII (green) and SII (blue) 5nm filters. The resolution at my site is rarely better than 6"/sec (poor), and I was inexplicably unable to align/include the luminance channel [star match failed on luminance, and astrometric alignment kept offsetting in declination]. Simplest approach to get my feet wet. Much more practice is required!
R:G:B minutes = 206:71:10 @ -20C
Basic exposure 60 seconds.
C14 Hyperstar + QSI 583
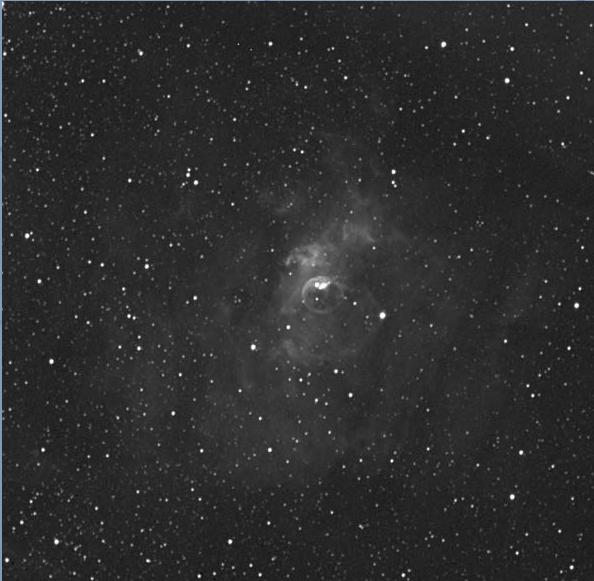
NGC 7635
Bubble nebula
In Hydrogen Alpha. The C14 with the hyperstar and the QSI provide a very large field (cropped here), and no use increasing the pixel resolution on account of my site's poor seeing. 20 shots @ 60sec/-10C. I worked a tad harder to stretch the signal and draw out details, what I could have done with the Crescent image above. 100% non scientific, a no no. There is also an issue with FocusMax's ability to focus properly with the narrow band filters - it did far better with the Crescent nebula.
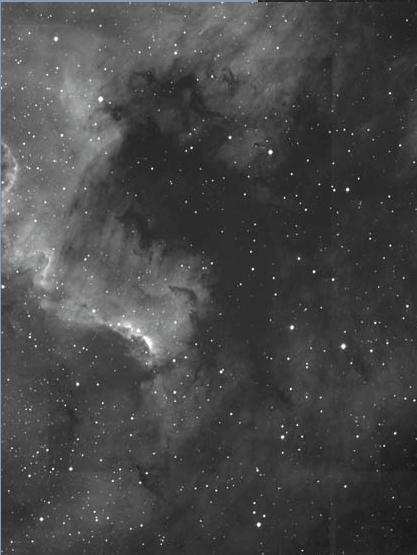
Gulf of Mexico
With this collection, once again Maxim couldn't align the luminance, so I present only the Ha which had large disparate image centers, hence the print through of vertical and horizontal frame edges. Nonetheless, it is a beautiful emission nebula, and as a third imaging attempt, is acceptable.
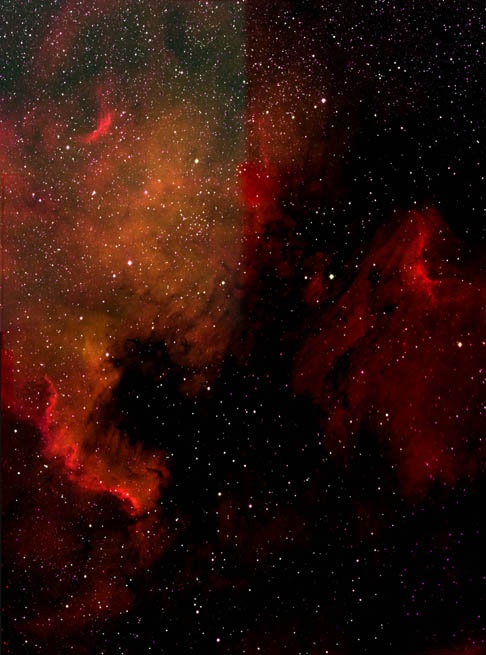
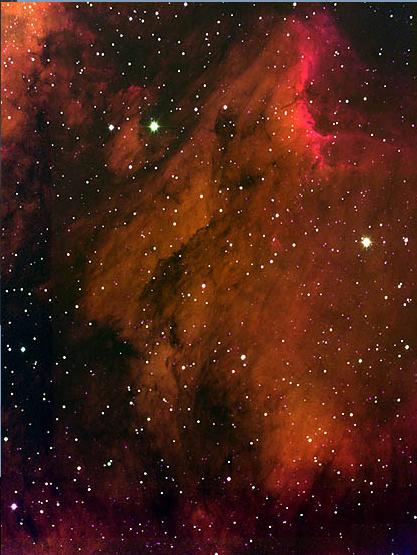
IC 5070
Pelican nebula
Part of the large nebular complex called the North America nebula, an RGB using Ha, OIII and SII filters.
North America nebula
To test out the mosaic automation via ACP, I had the nebula complex cut up in 6 frames. The quality of the data was wanting, so I did not press the mosaic blending in Maxim too far (colour, levels matching, etc). The main purpose was to test out ACP automation.
ALL SKY CAMERA
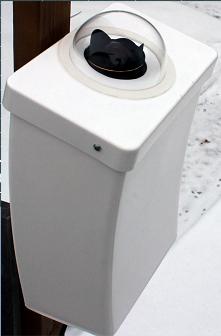
Having an old Canon Rebel DSLR and a Sigma fisheye lens, I used a Glad garbage pale, lined it with foam, placed into it a Quatech wireless USB server, a 5 Watt thermostat controlled heater to keep the temperature at 10C to protect the DSLR and keep the acrylic dome clear of ice and snow. The dome is from Global Plastics. A Perl script handles snaping sky images, removing dark frames, cleaning up and posting the image on the main web page of this site.
